
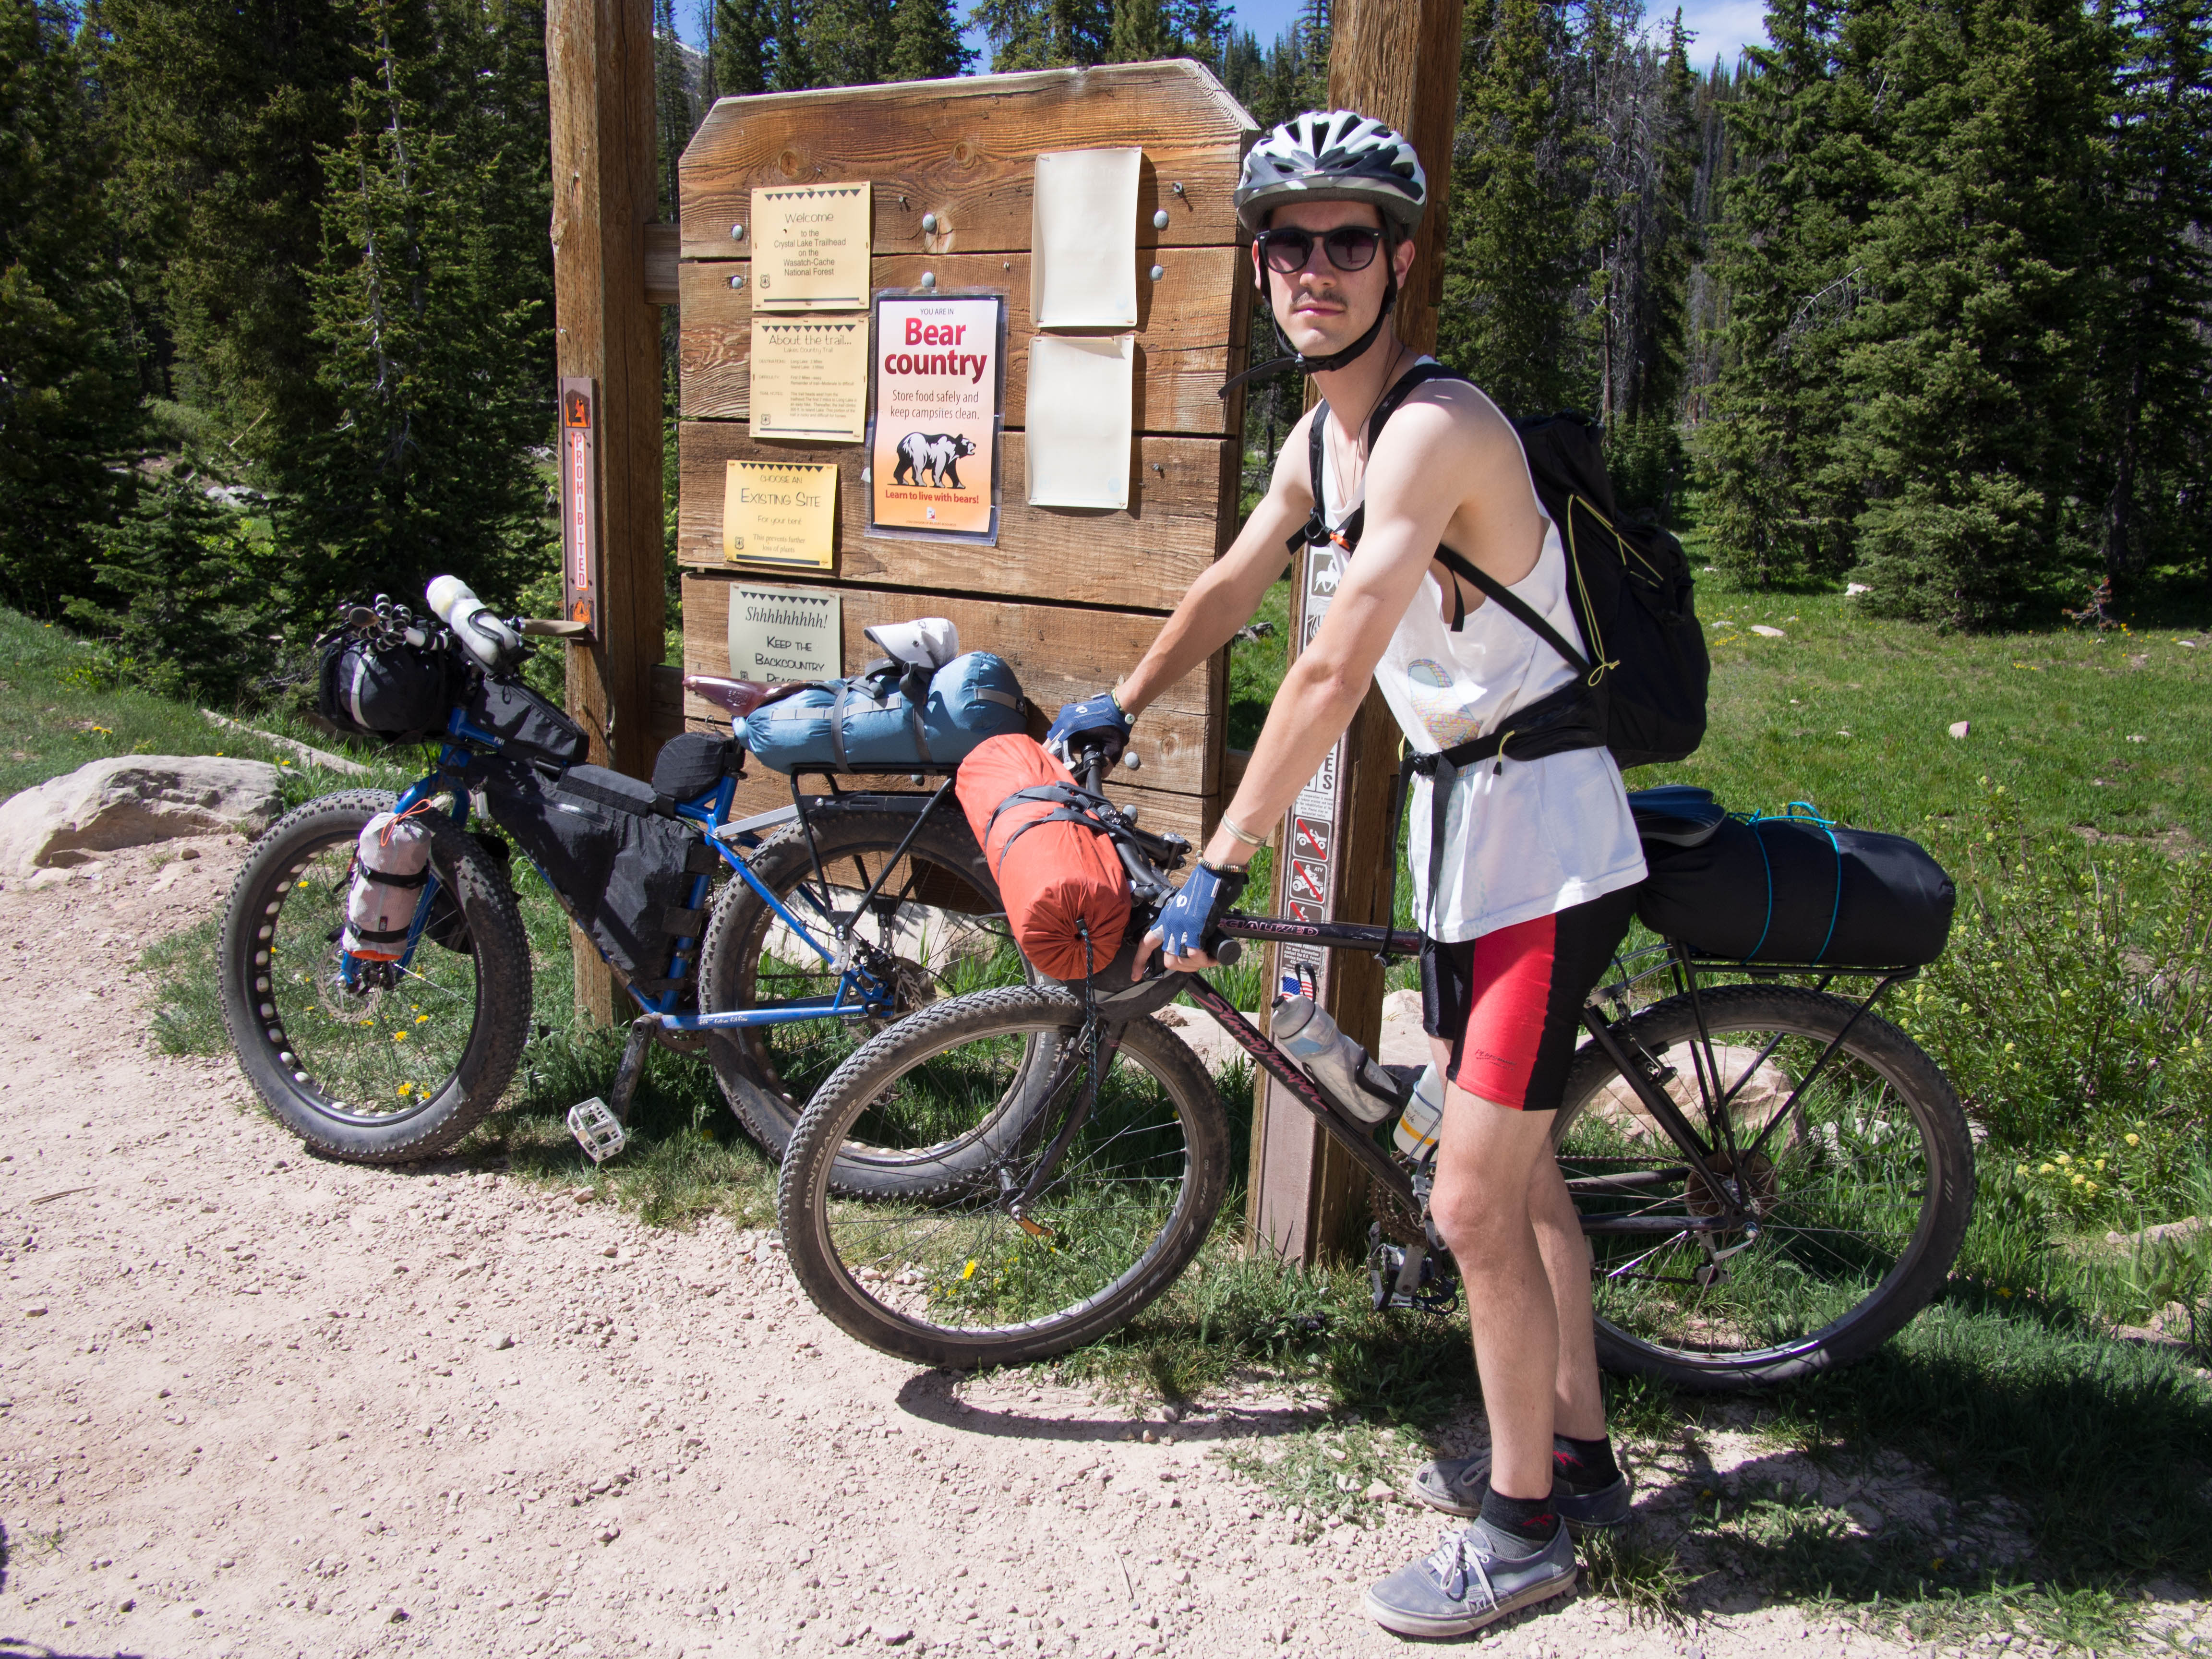
Surly Pugsley with Revelate Designs frame pack, Gas Tank, Jerry Can, and front handlebar pocket.
Since my first bikepacking trip a couple weeks ago I have been experimenting with better ways to carry my gear. Two of my sons and I recently did a short trip in the Uinta mountains where I was able to try out some other options. I learned on my last trip that it didn’t really work to strap my tent on top of the sleeping bag on the rear rack.
1. Rear rack: Old Man Mountain Sherpa rack modified for fat bikes
This time I used a slightly larger dry bag, a 15 liter OR Durable Dry Sack. Inside I stuffed my Feathered Friends Swallow down sleeping bag and an Oware silnylon pyramid tent that comfortably sleeps 4 and weighs only 26 oz. (not including pole and stakes). I then clipped the dry sack around the seat post, and strapped it down to the rack. I can also strap my tent pole to the rack as well. This arrangement was rock solid with no shifting, even on rough rocky terrain. Ideally I think I would like to use a seat bag, but I have short legs and there is not enough clearance for a seat bag with this bike, hence the rear rack. Though heavier than a seat pack, it is more versatile and gives me more options, such as carrying extra water or other gear.
2. Revelate Designs Frame Pack
In the frame pack I carry an extra tube, small alcohol stove with pot and a small plastic bottle of fuel (if going solo), fire making kit in an small Aloksak bag, paracord for bear bagging food, eating utensil, bowl, tent stakes, food, etc. These frame bags also carry a lot more than you might think. Basically I try to carry heavier gear in the frame sack where there is a lower center of gravity.
3. Revelate Designs Jerry Can (the small pack on the front of the seat post)
In the Jerry Can I carried my tools, which include a patch repair kit, tire irons, a small rag, small bike multi-tool, Leatherman Juice multi-too, some duct tape, zip ties, spare fiber spoke, and some extra rack bolts.
4. Revelate Designs Gas Tank (top tube bag)
In the Gas Tank I carried snacks, lip balm, and other small things where I want quick access.
5. Revelate Design Mountain Feed Bag (tubular bag on the handlebar)
In this handy bag I keep my camera. It is easy to get in and out. Currently for my lightweight, outdoors setup I am using an Olympus E-PM2 (which is a mirrorless micro 4/3 camera) with a Panasonic 14 mm F/2.5 lens.
6. Handlebar bag
On the handlebars I used a 10 liter OR Durable Dry Sack with my clothes. This included a light puffy (Patagonia Nano puff jacket), a light rain shell, arm warmers, knee warmers, a beanie, whistle, a pair of warm socks to sleep in, maybe a pair of lightweight nylon hiking pants. In the Revelate pocket that straps to the dry sack and holds it to the handlebars I carry a Sawyer mini squeeze filter, map, compass, some food, headlamp, etc. It actually holds quite a bit. With this arrangement everything stayed secure up front with no issues. I especially like the OR Durable Dry Sacks for two reasons: one, they are much more durable than silnylon sacks which I think is important when they are not carried inside a pack and will inevitably get scraped by branches while riding, and two, they have a daisy chain on one side. By putting the straps through the daisy chain, it prevents the bag from shifting and sliding around.
6. On the Forks
On the fork mounts I carried my sleeping pad on one side (Big Agnes Q-Core UL), and a small Snow Peak pot with alcohol stove inside) on the other side. I used a Salsa Anything Cage for the sleeping pad and a custom cage my brother Bullet made on the other side. It uses a lightweight aluminum frame with a plastic sleeve that connects with fastex buckles. It weighs within a few grams of the Anything Cage, but gives the added security of a plastic sleeve around your gear. This is a prototype and if all goes well, we may offer them for sale in the future. Fork mounts are great and you can strap all kinds of things on your forks, including an 8-10 liter dry sack full of stuff, a large bottle of water, like a Nalgene, or larger.
7. Other
I also have a bottle cage mount on my stem, which I really like for the convenience but it does interfere with access to the Gas Tank bag. I’m still not sure if I will keep this. But, I do know that I don’t really like wearing a pack with water. On this last trip, I only carried one bottle because there are tons of lakes and streams in the Uintas where we were. Normally I would need to carry quite a bit more water. If I were going on a long trip and needed to carry lots of water I would probably wear a pack with a 100 oz. bladder in addition to a bottle or two on the bike.
This system worked well and I will probably go with this setup in the future and continue to fine tune things as I go.
Lightweight bikepacking on regular mountain bikes (with no specialized packs)
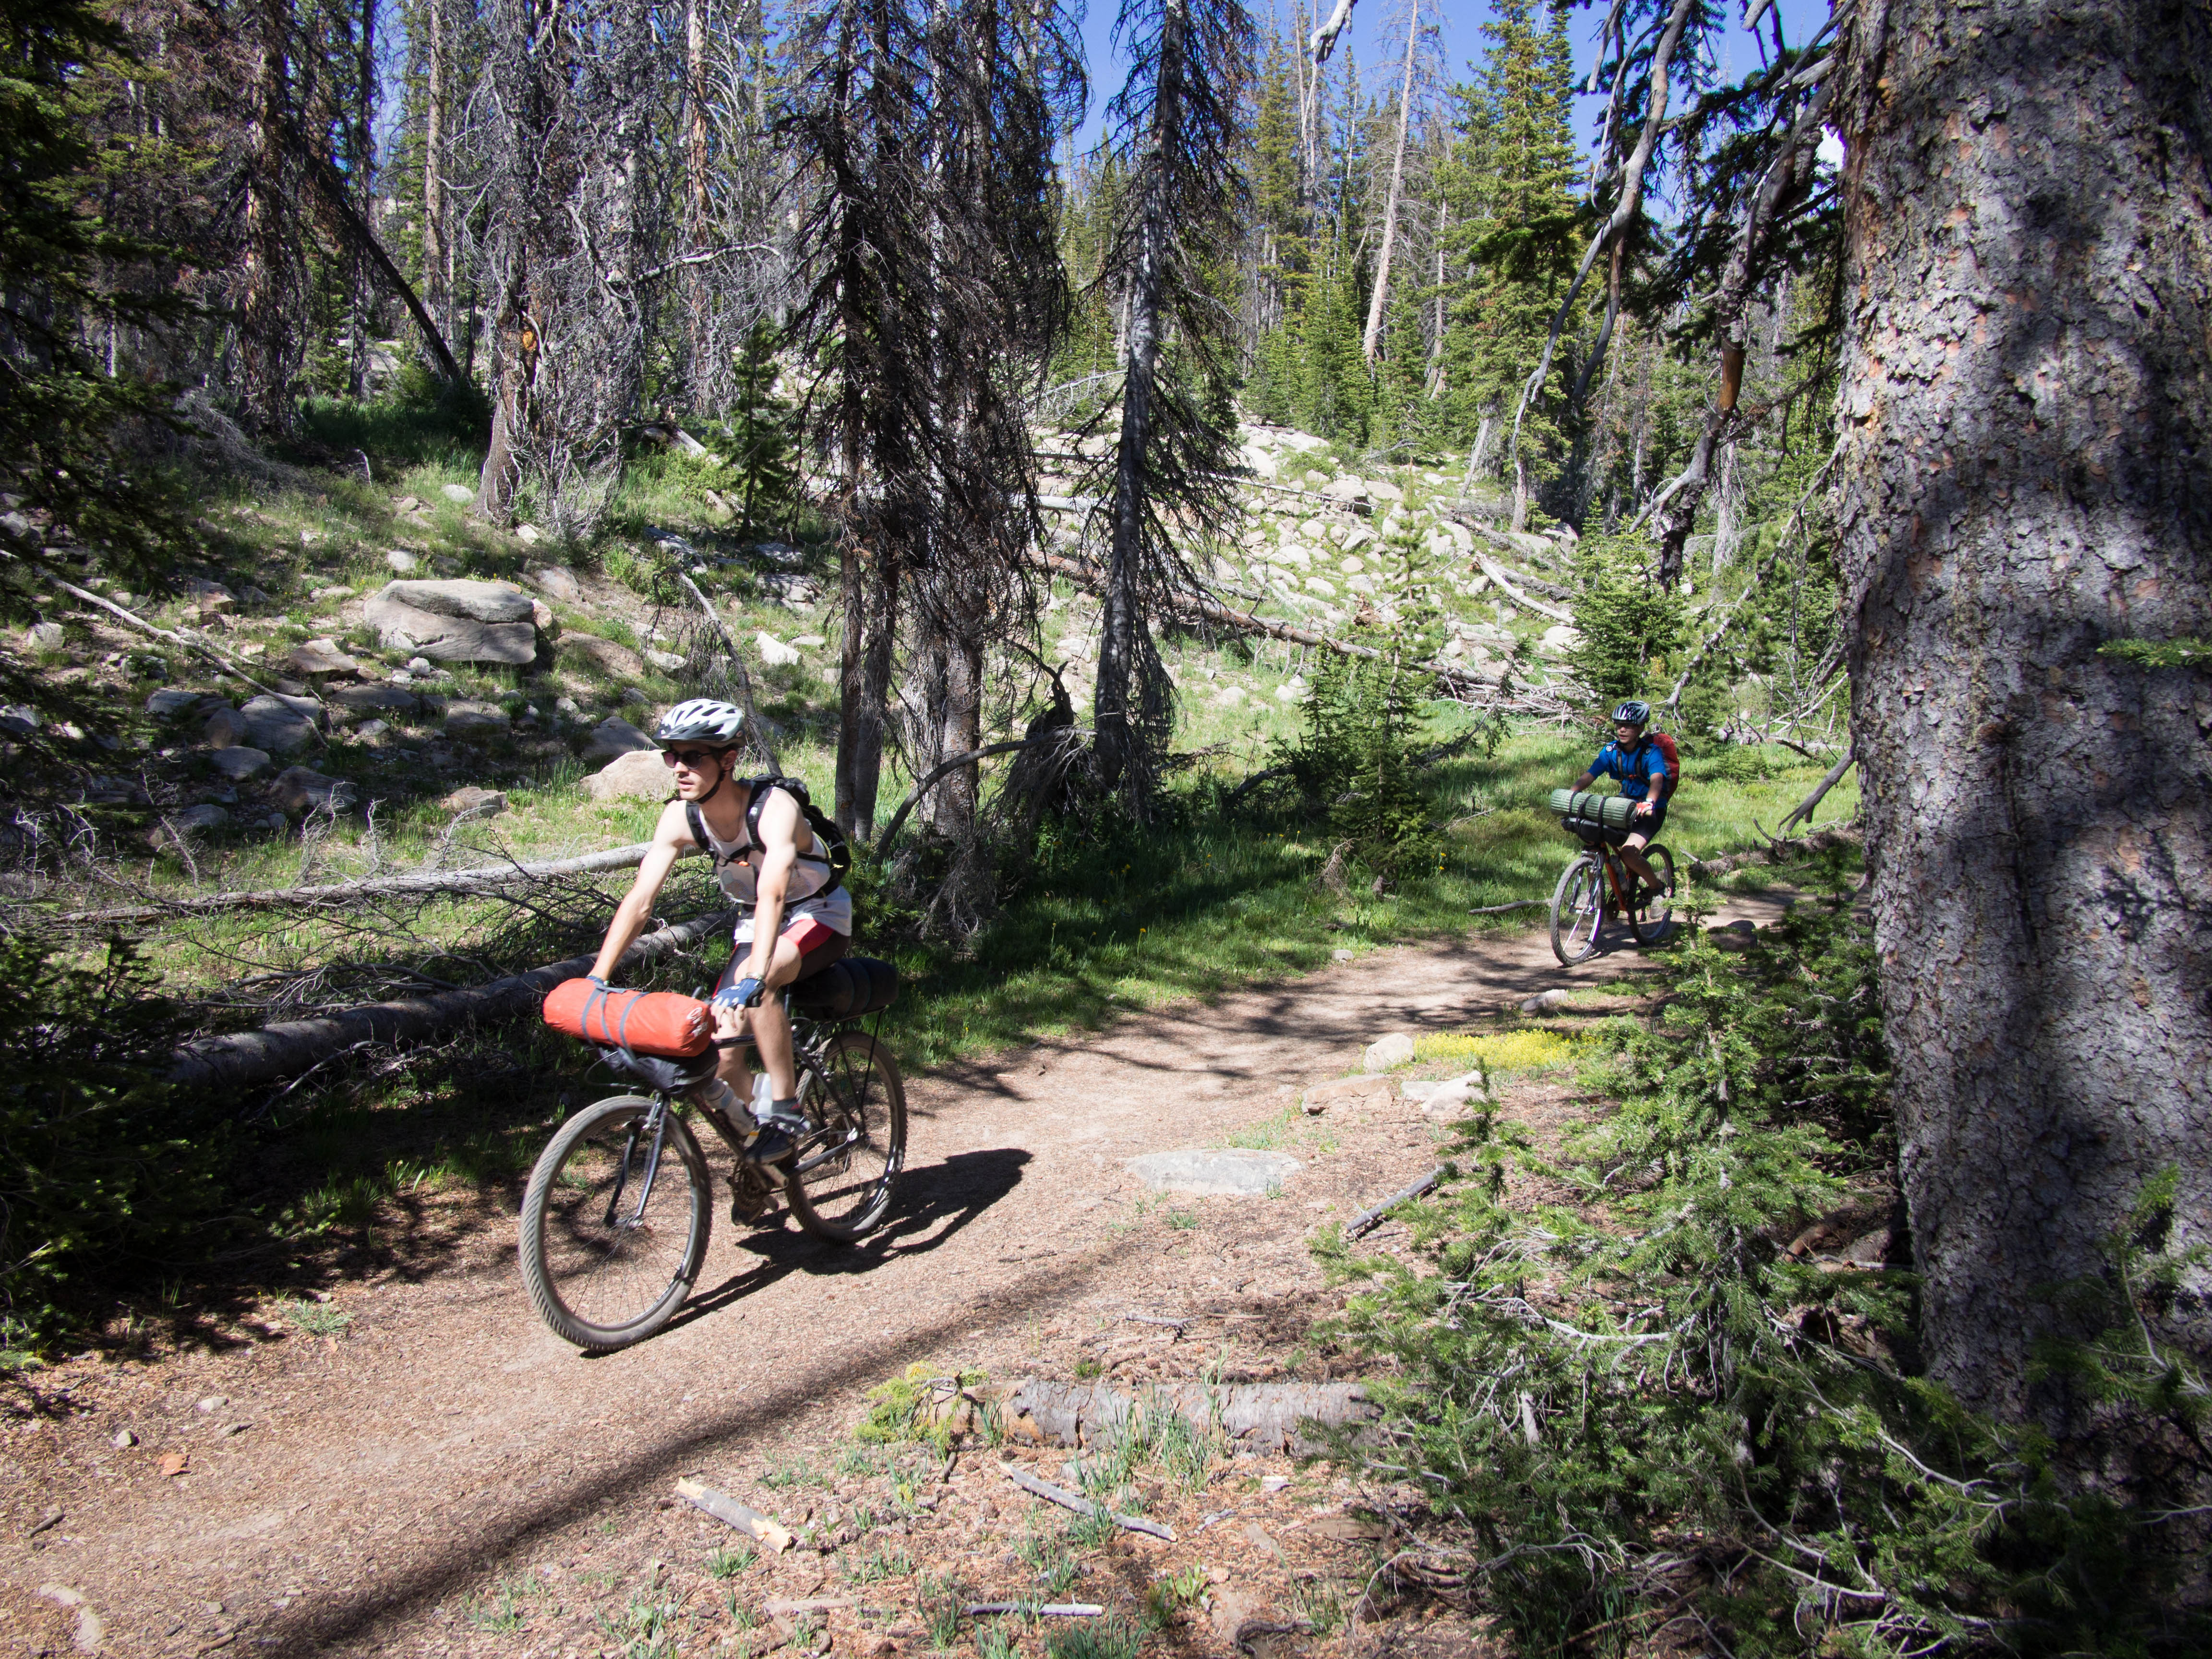
Lars with his very minimal setup.
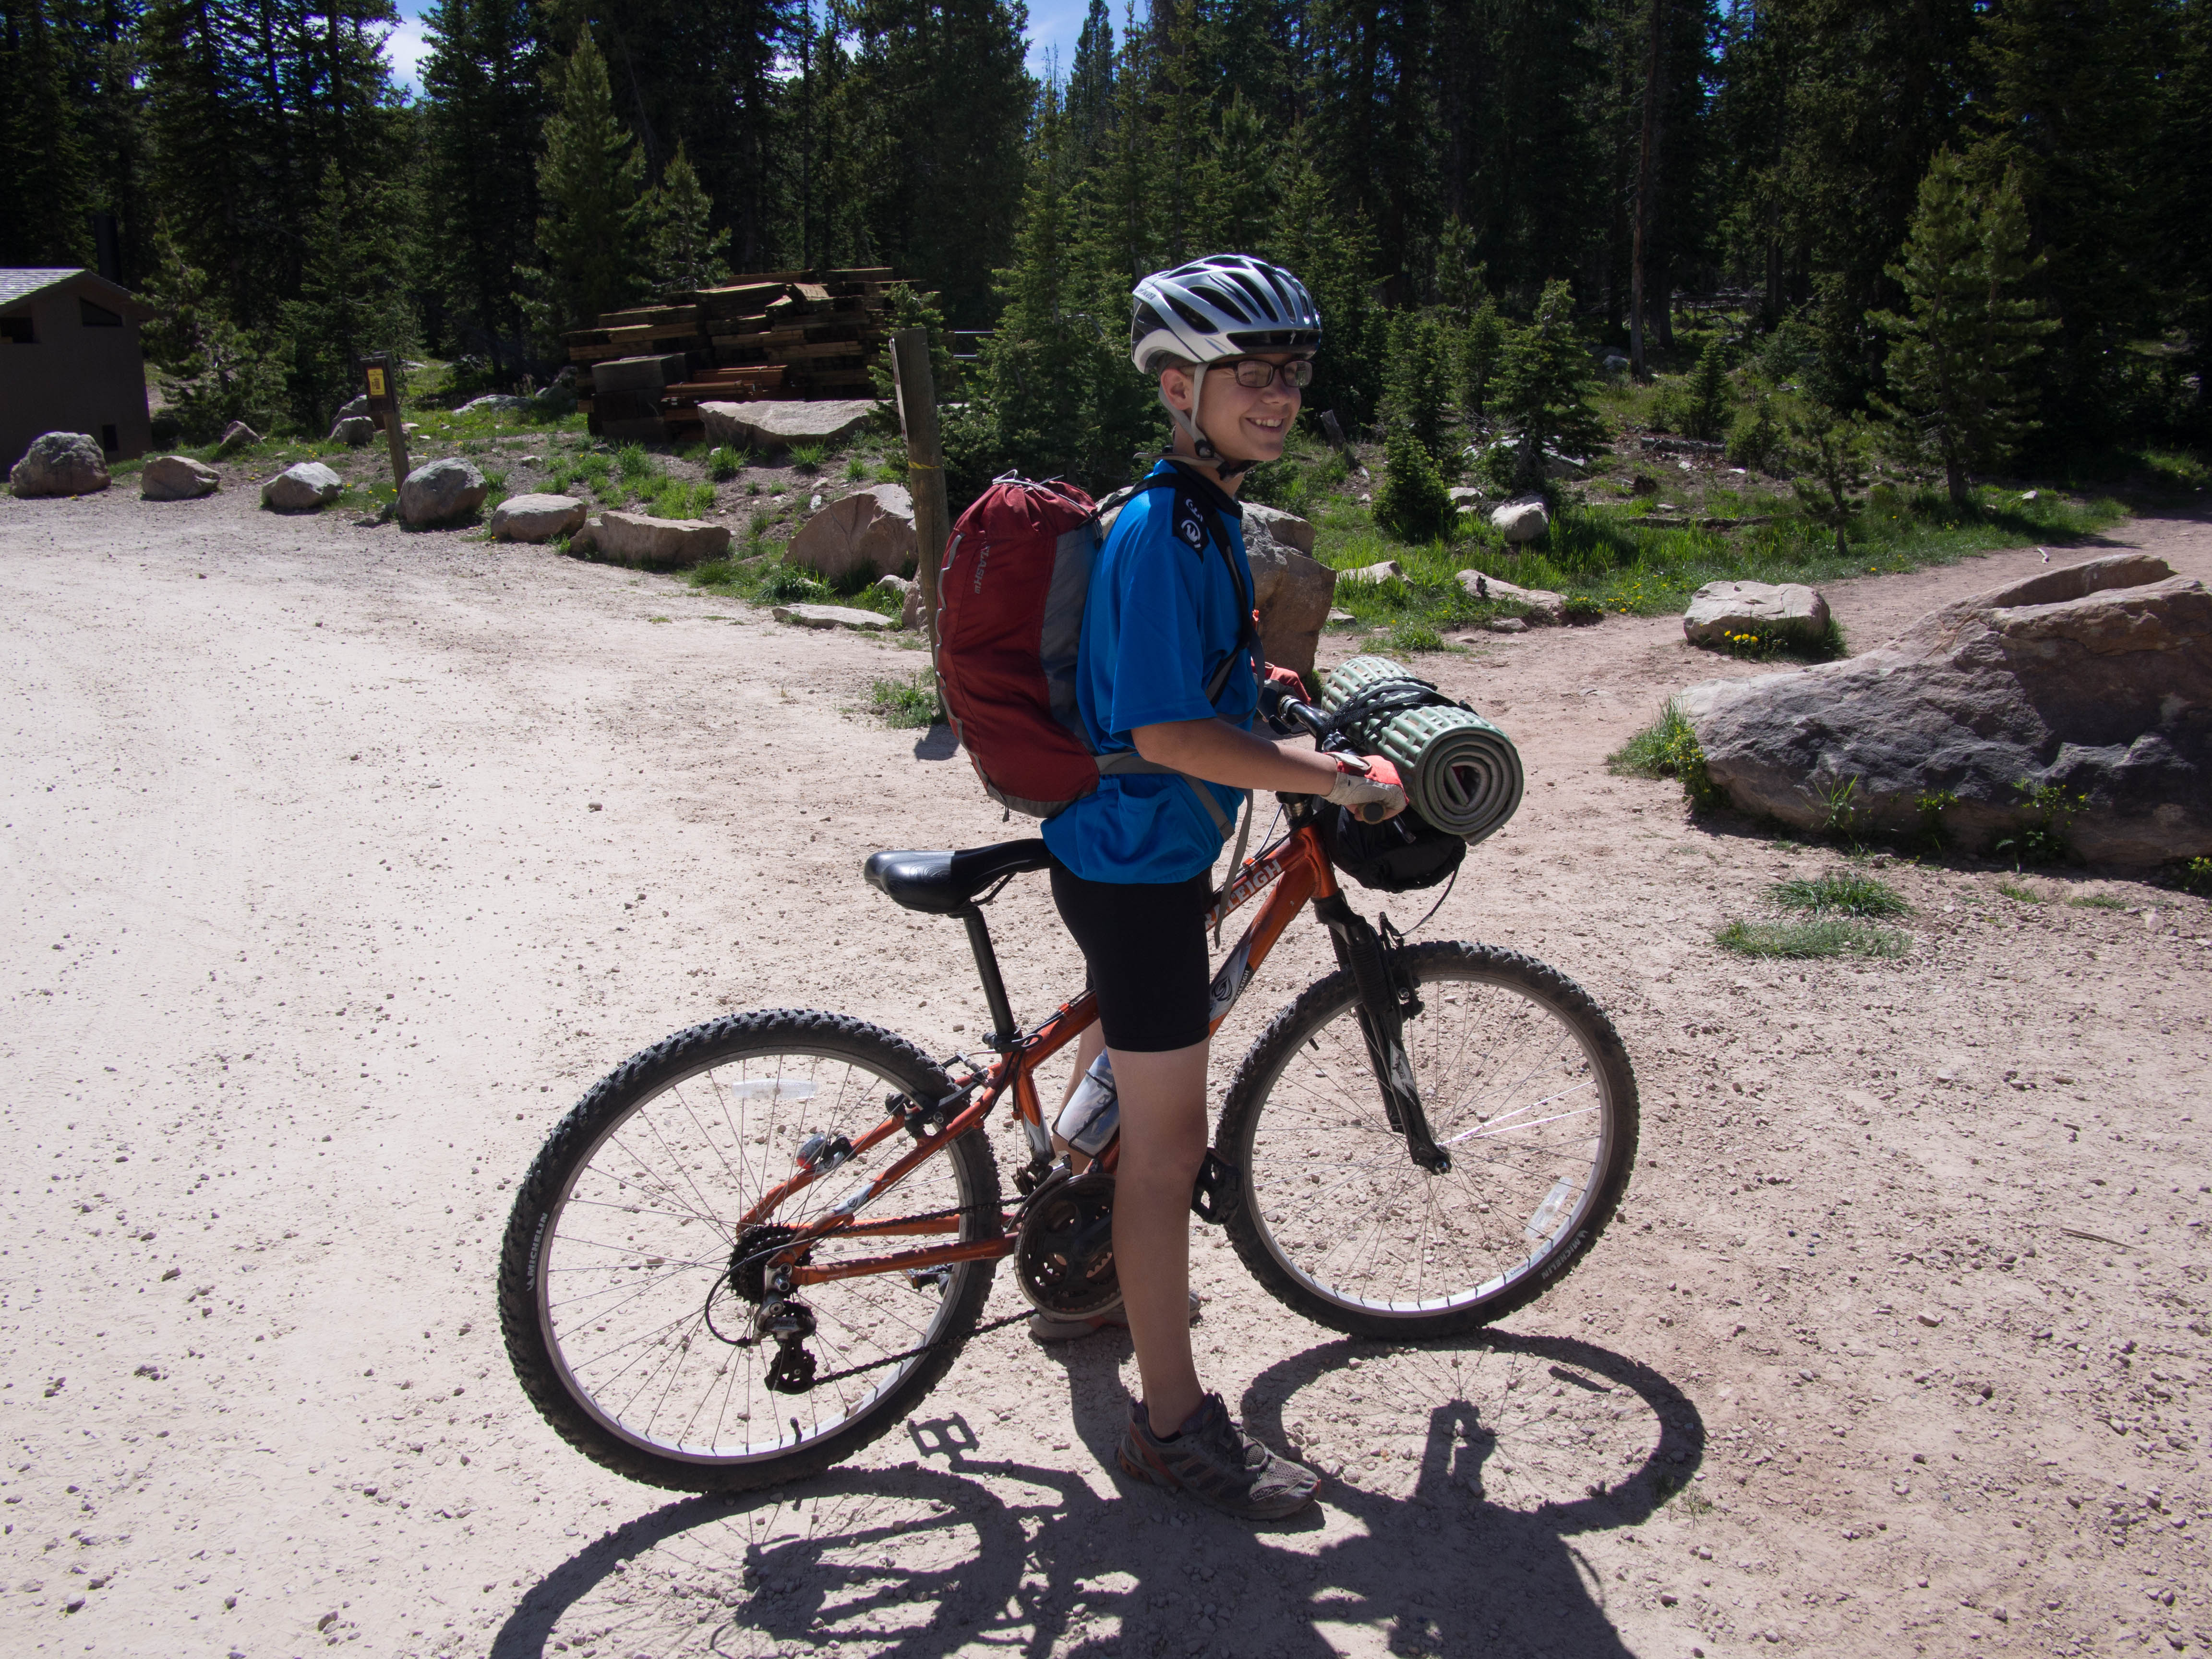
Niels with his slightly heavier setup.
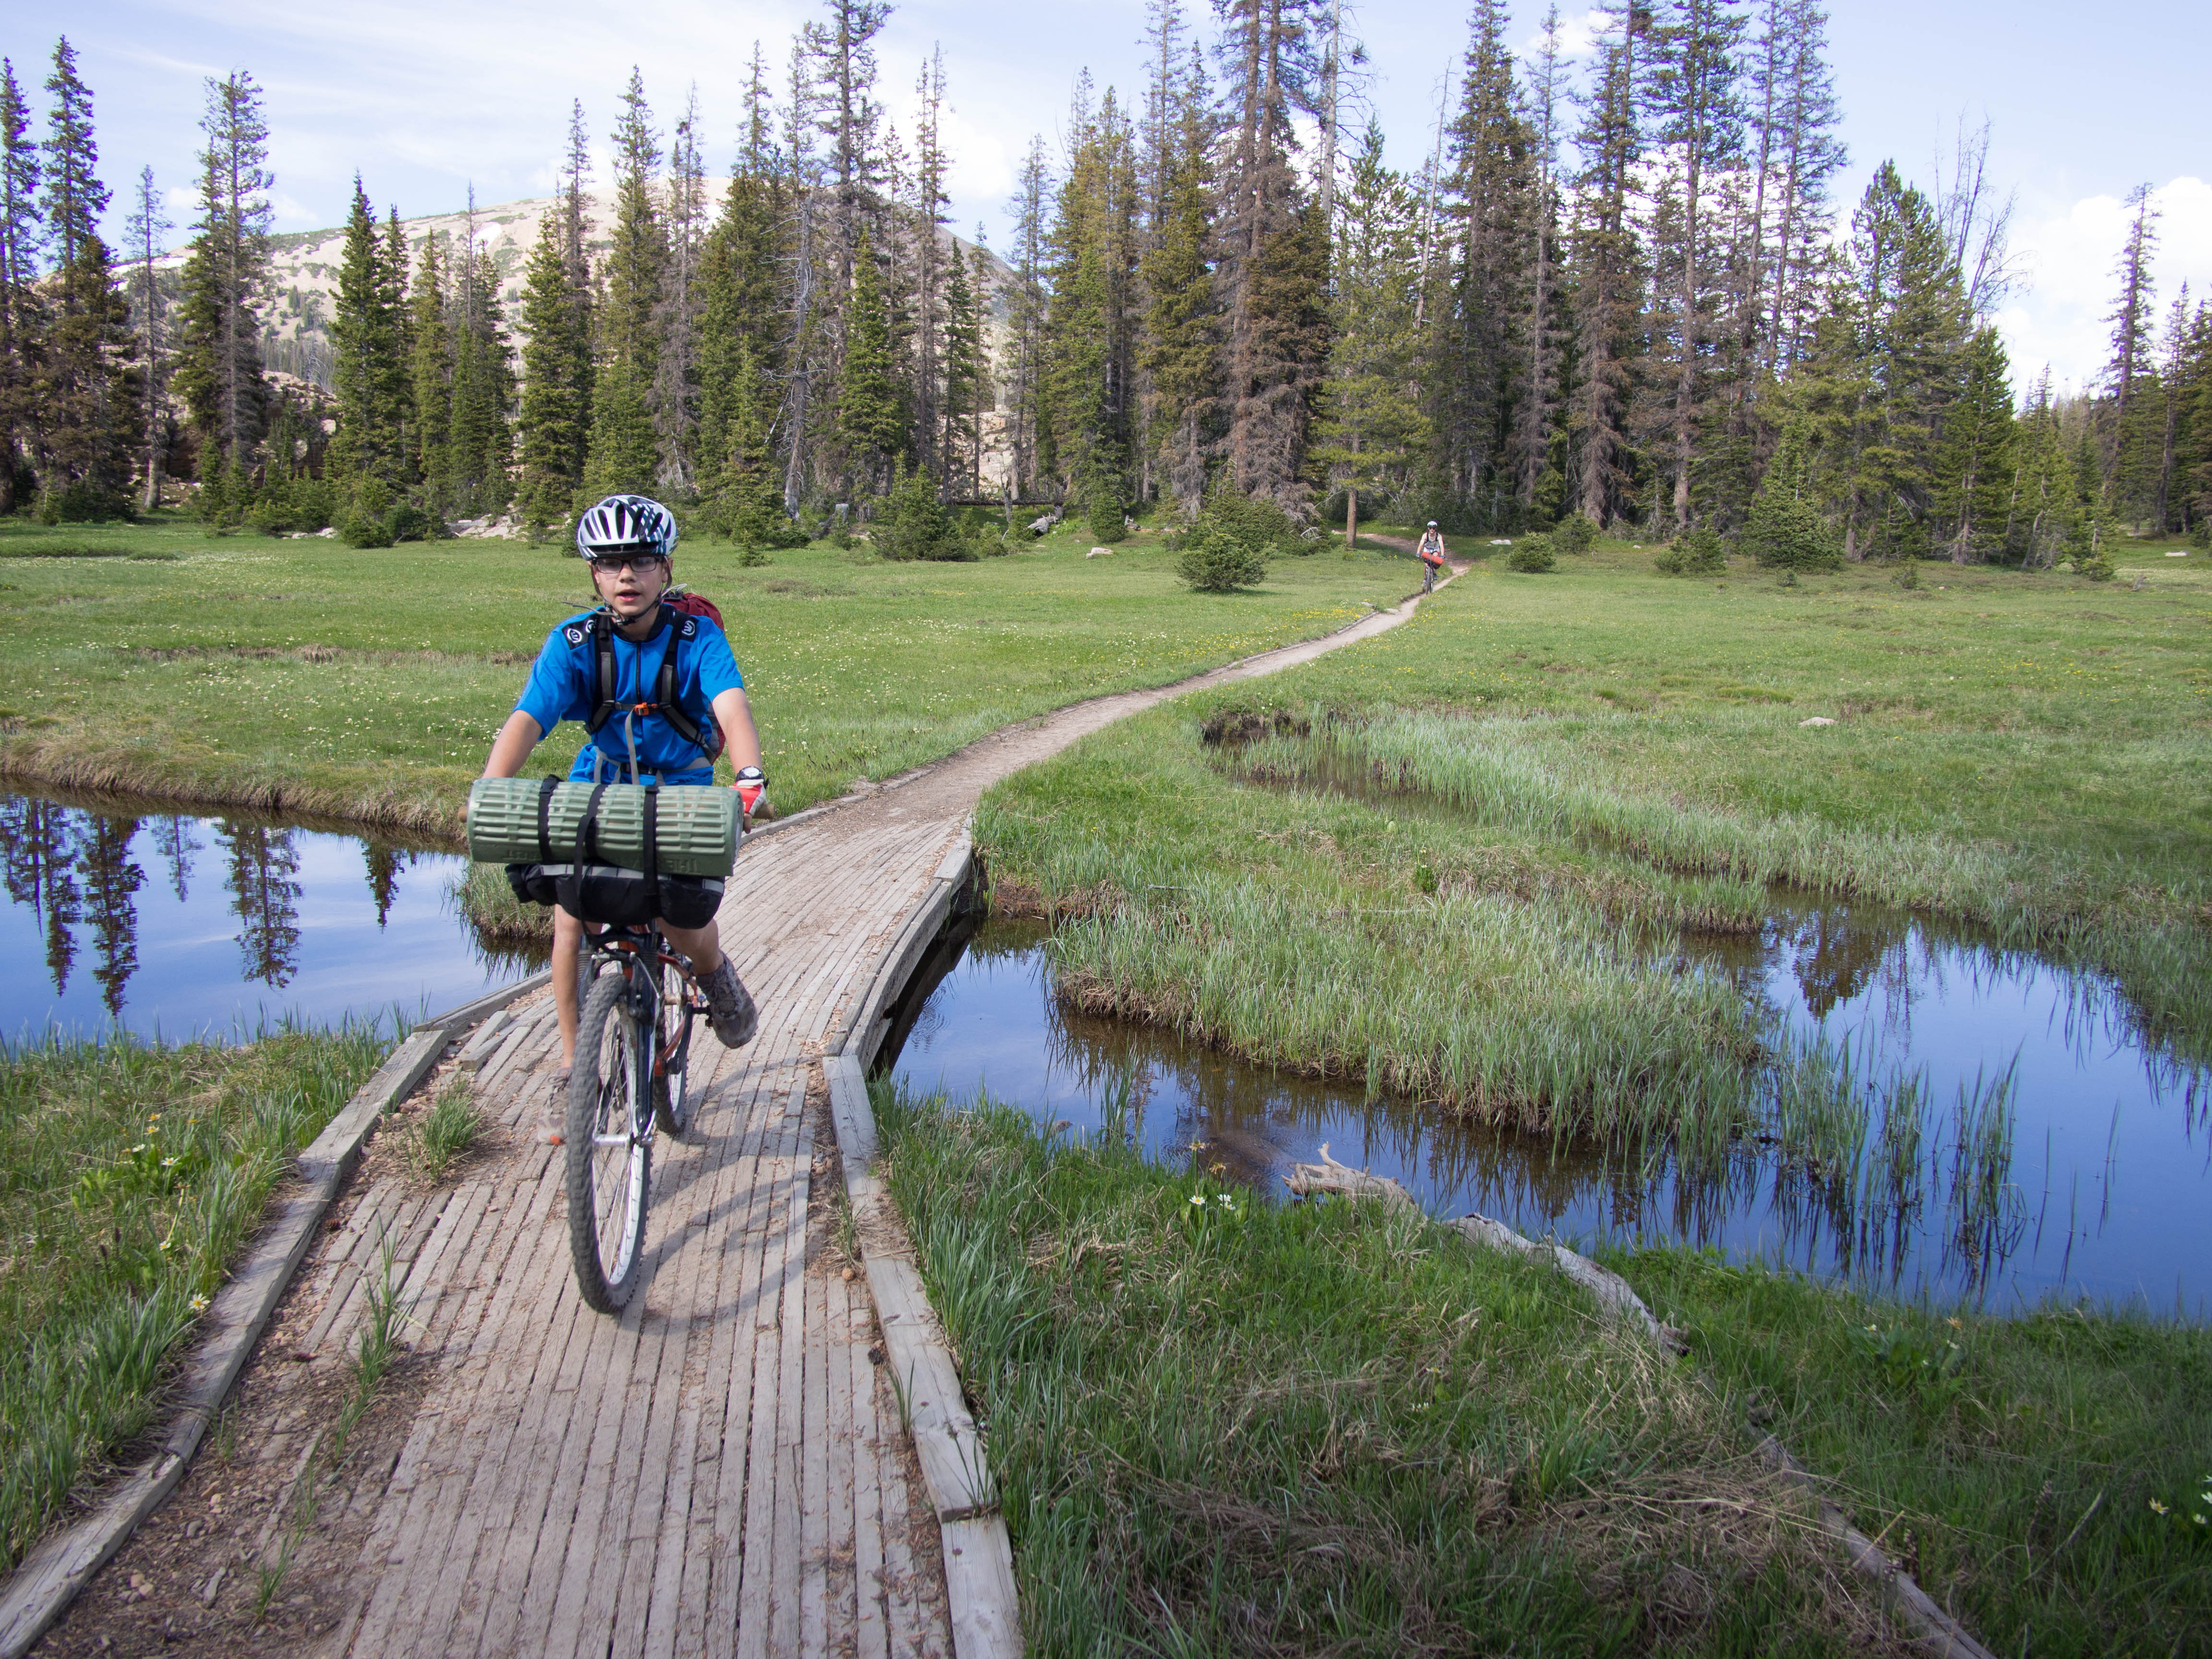
This last short trip was the first time bikepacking for my two sons, and I wondered how we would manage. My older son was riding my old rigid Stumpjumper. We simply strapped his sleeping bag on the rear rack, had a 10 Liter OR Dry Sack (for his clothes and other soft goods) and a sleeping pad strapped to the handlebars, and he wore a lightweight day pack with most of our food and some other small items.
My 13 year old has a pretty small hard tail mountain bike. It does not have rack mounts on the upper rear triangle, and I haven’t yet bought a seat tube mount for racks yet, so we just strapped his sleeping bag (in a 10 liter dry sack) and a Ridgerest pad to his handlebars and he wore a lightweight daypack (REI Flash 18) with his clothes and other things.
These simple setups worked well and they both said that the bikes rode well and didn’t feel awkward.
The short trip we did does not merit a full write up as it was aborted. The trail was very rough and rocky, requiring us to walk almost half the time. The good sections were great, just short-lived. My son forgot the tent pole, and we were overwhelmed by a very nasty hatch of mosquitos which we were not fully prepared for. So the trip ended short. Here are a few pics.
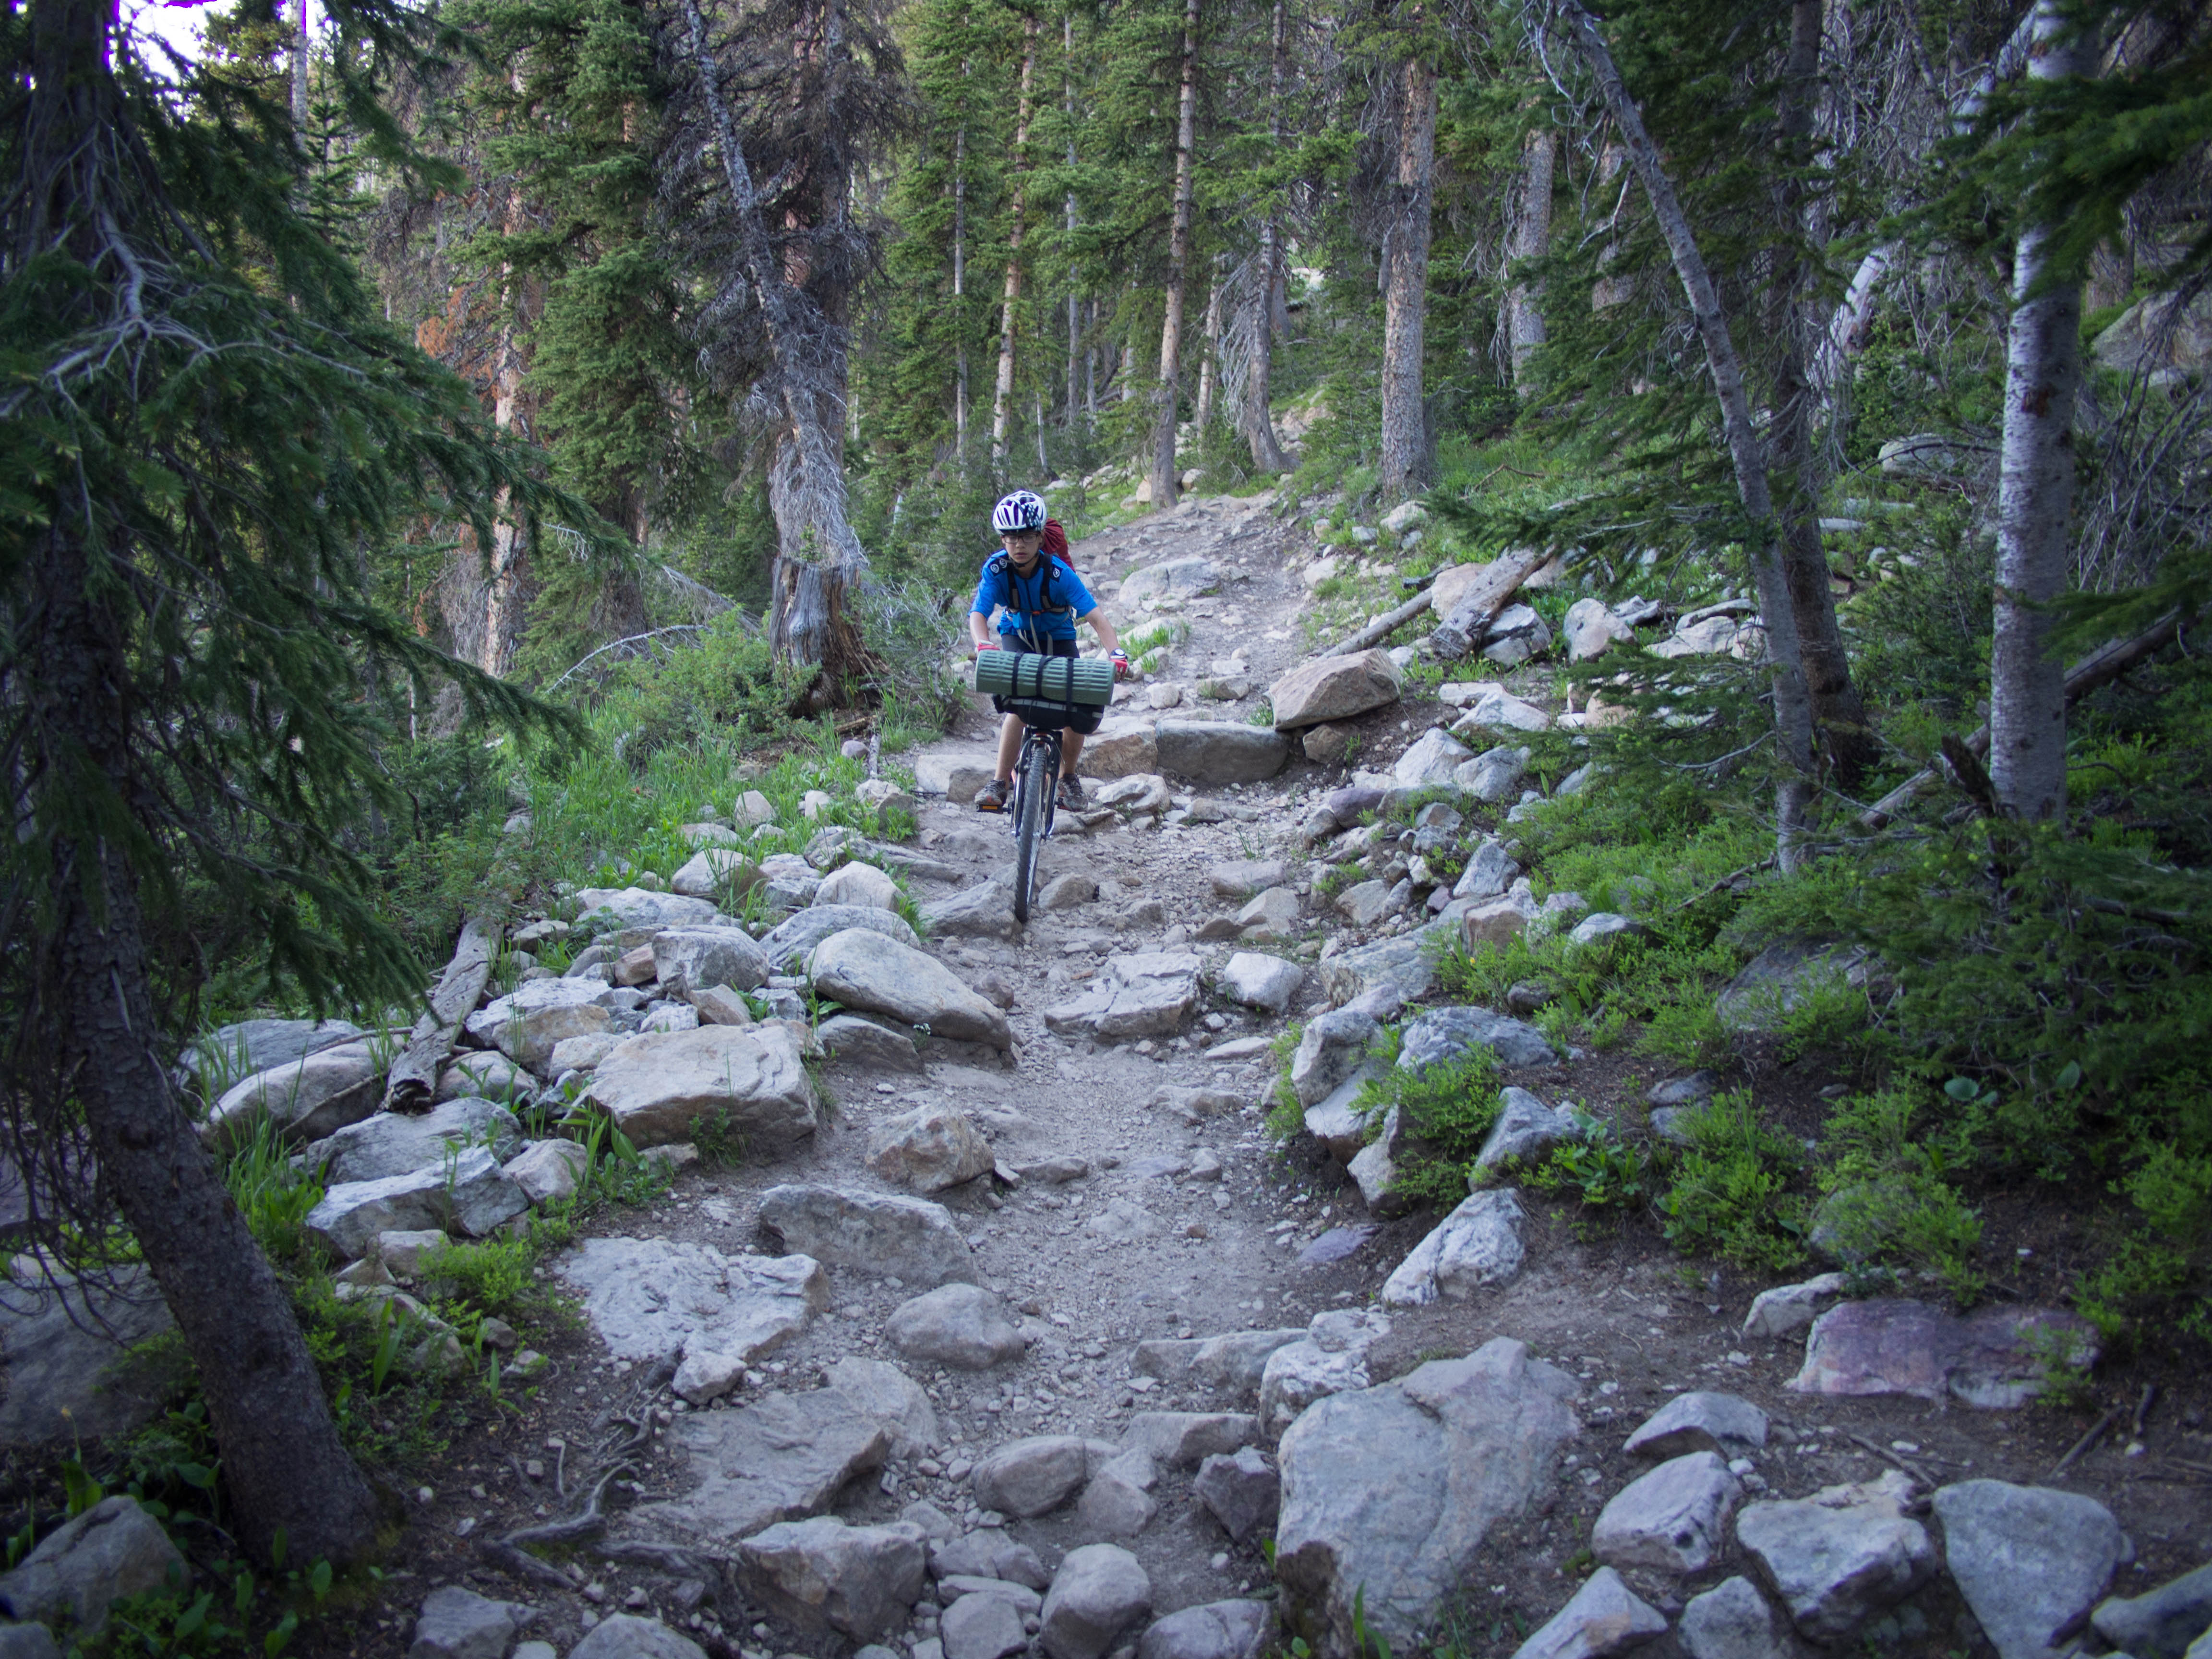
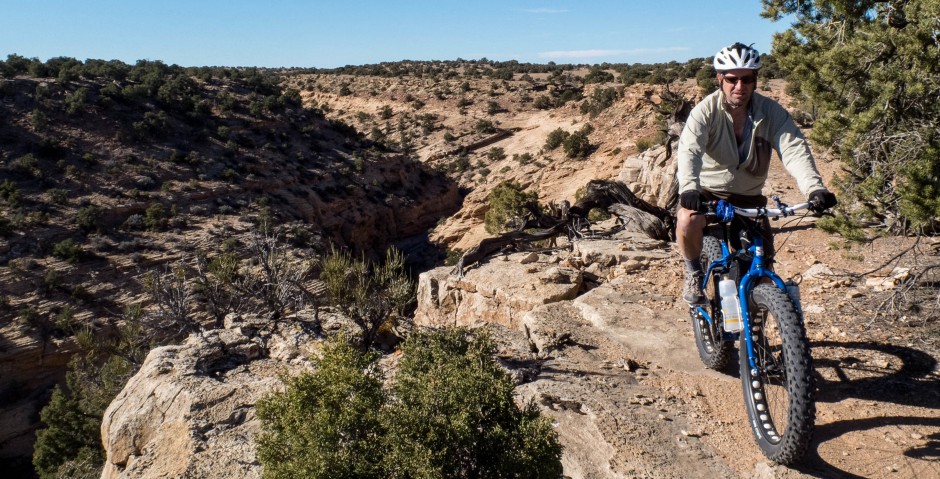
Gnarly trails, like a trials course much of the time.
One of the nicer sections.
One of the few smooth sections.
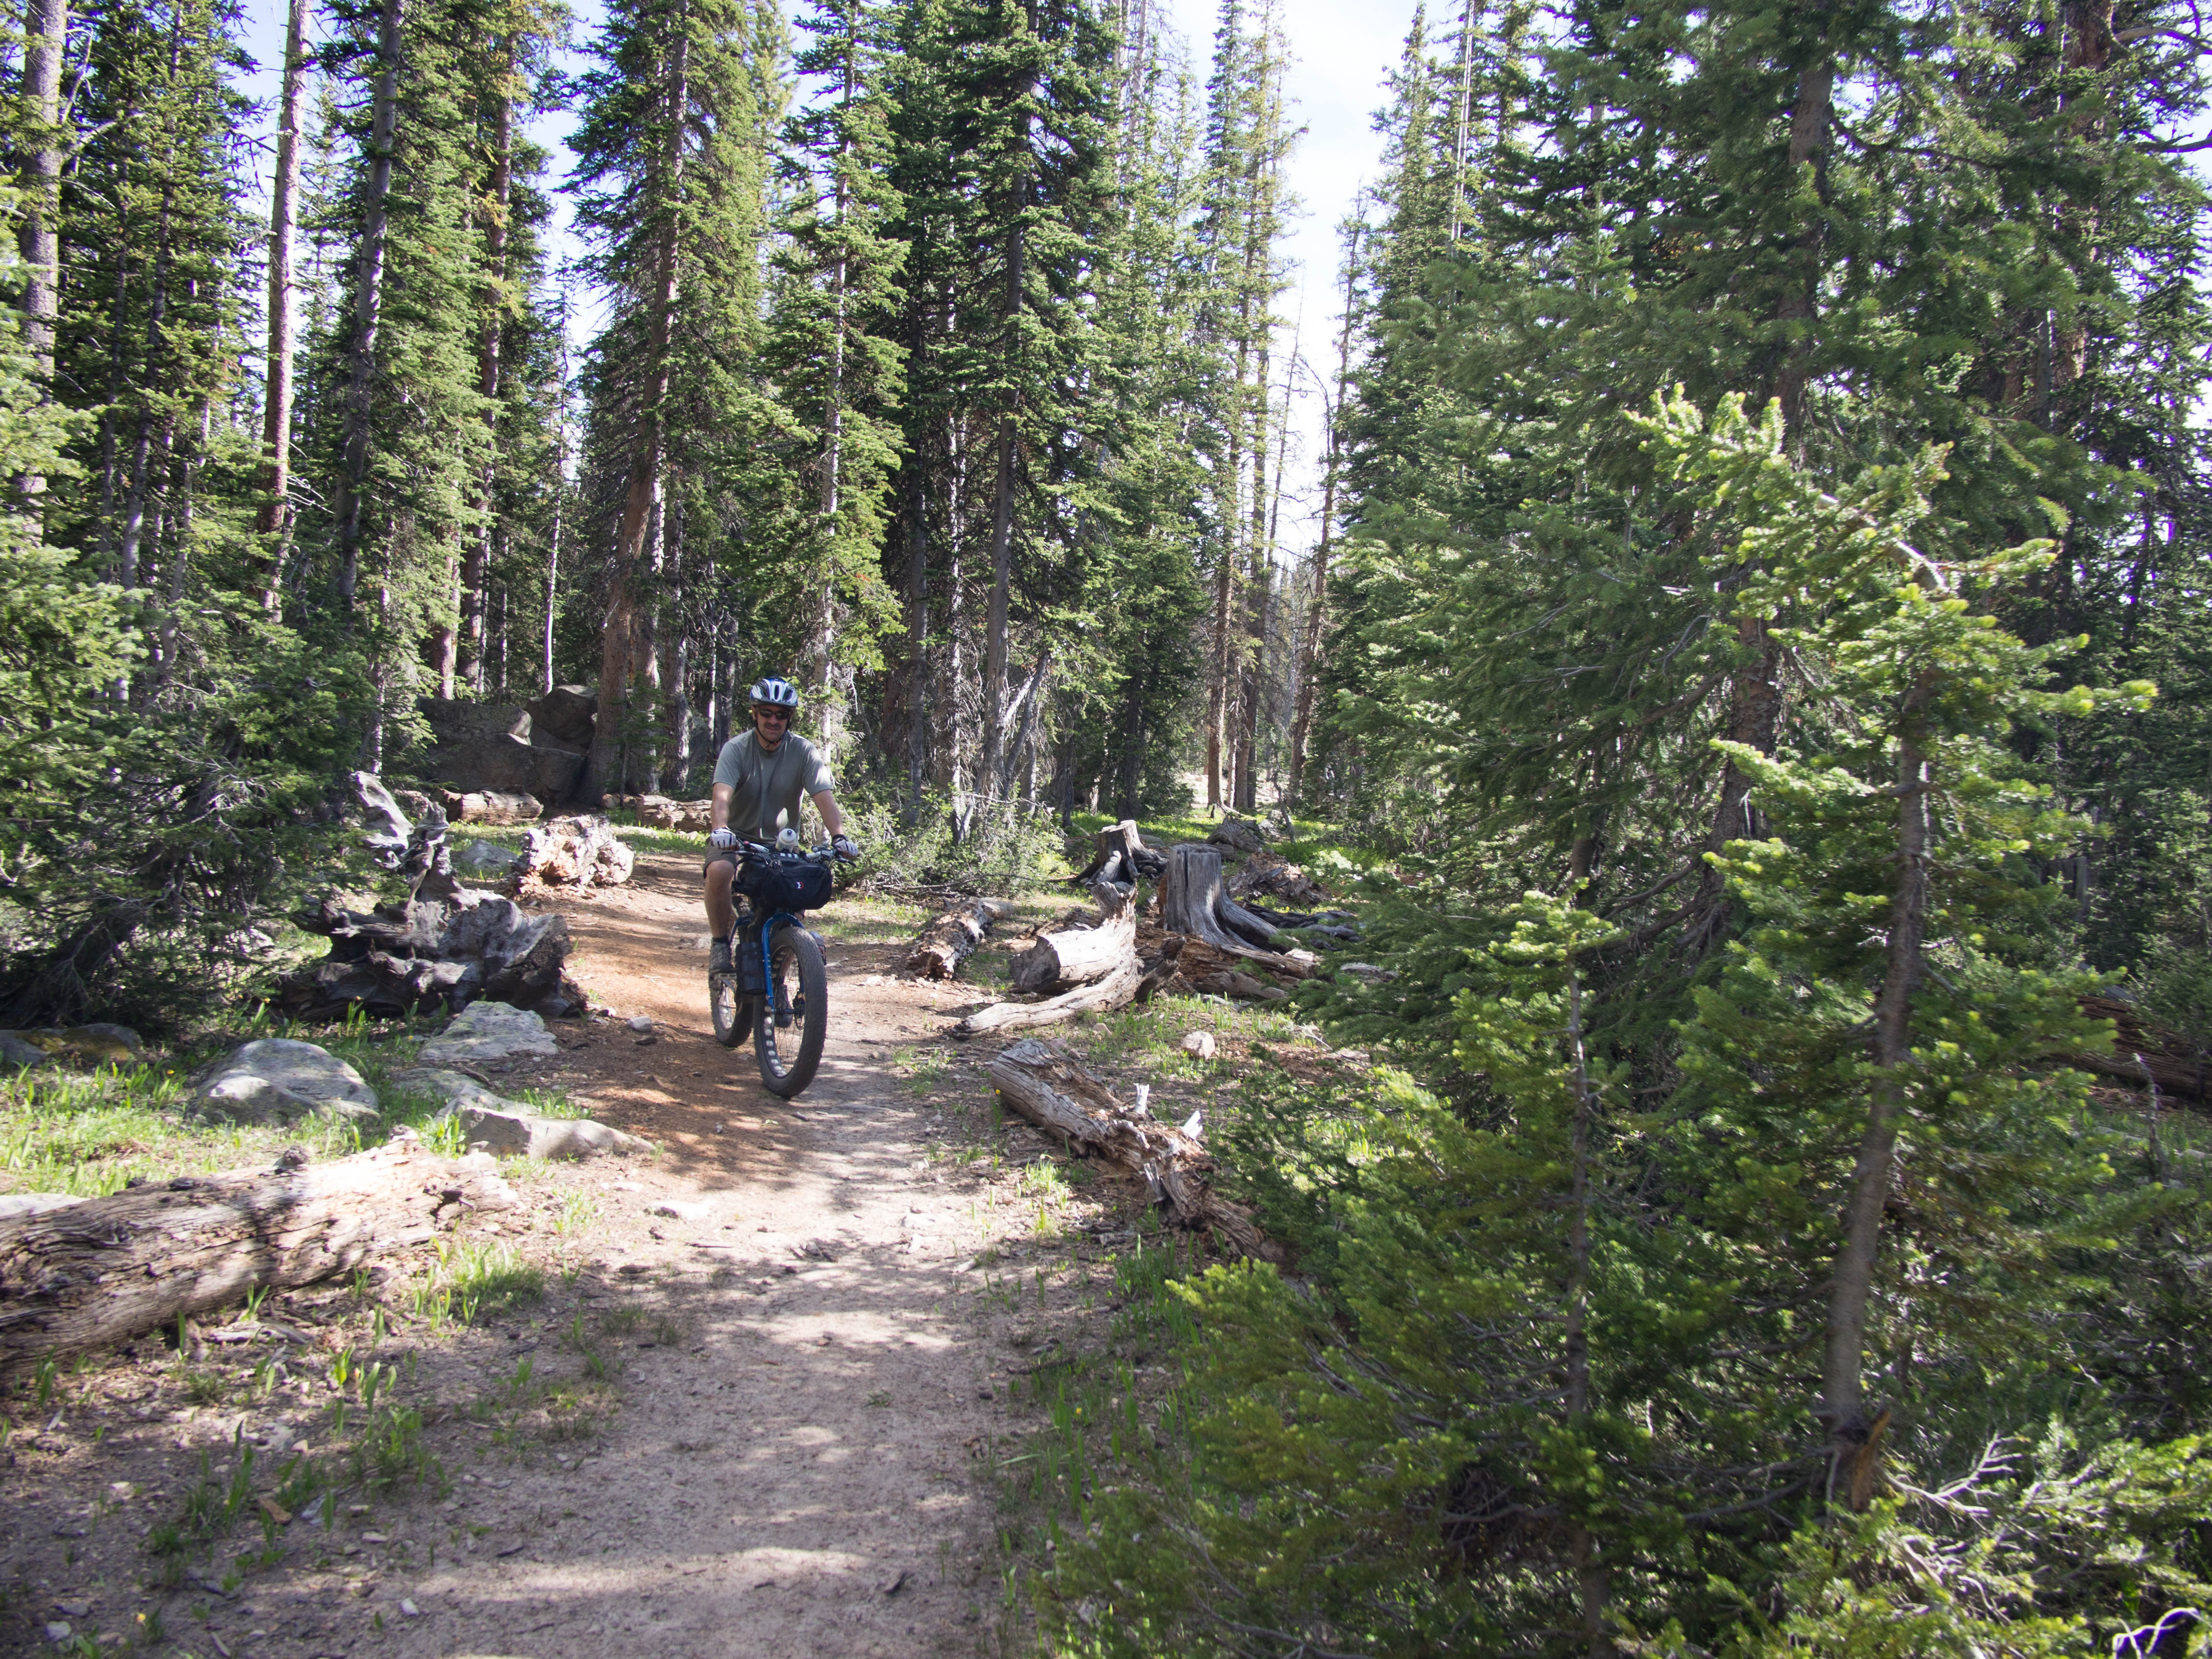
Too bad more of the trail wasn’t like this.
